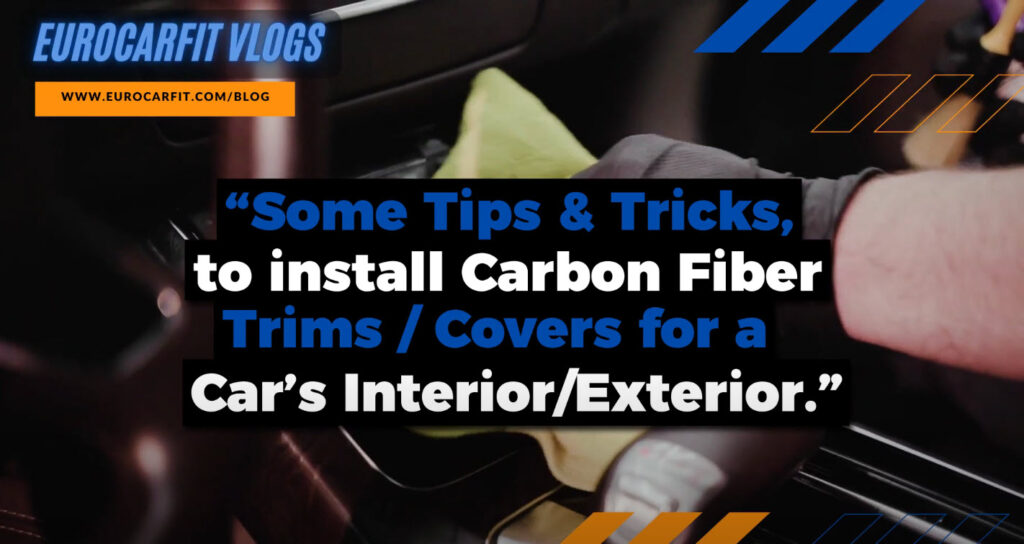
In this Vlog I will tell you about some Tips & Tricks, that will help you successfully install carbon fiber covers or trims for your car’s interior or exterior.
WATCH THIS VIDEO BELOW FOR THE 5 USEFUL TIPS & TRICKS WHILE INSTALLING CARBON FIBER TRIMS IN A CAR
Cover trims or parts for some cars have become very popular nowadays. [sPause sec=1 ePause] It can give your car a new and unique look, compared to what came standard with your vehicle. Some premium cars nowadays have the top-spec. versions that have sports car-like performance, and a sporty interior-exterior package. Common examples of such cars are the BMW M cars, Mercedes Benz has its AMG models, Audi has the RS models of their cars, and so on. As an example, the basic design of the interior and exterior of a BMW M3 is the same as most of the lower-spec 3 Series, which basically is what the M3 is based on.
In order to enhance the look and feel of a regular 3 series, to look like an M3, you can get a set of Carbon Fiber or Custom color parts, trims, or covers. Most of these parts come with a double-sided glue tape to stick them, commonly 3M tape, that will help you stick the cover on top of the existing stock part. So here are some tips & tricks to get the installation right.
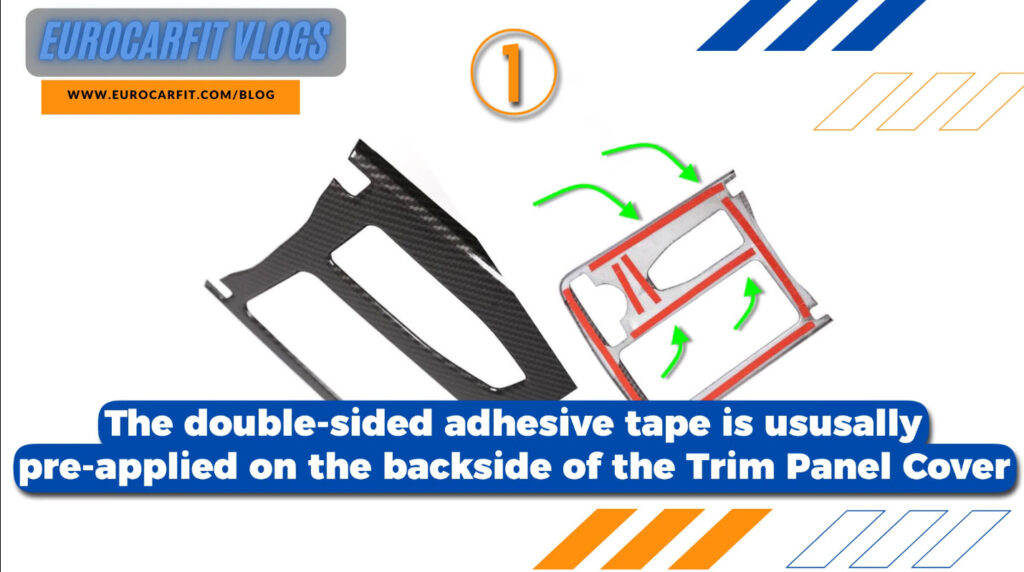
1) the double-sided adhesive tape is usually pre-applied on the backside of the trim or panel cover. Do not peel the protective layer of tape to expose the tape glue right in the beginning. The best thing to do is to first place the trim over the original part in the car, and check if the size and shape of the trims are according to the part. If there are differences in shape mainly, the trim would not fit flush and cause vibrations due to an improper fit, and sometimes can turn into an eye-sore instead of looking better.
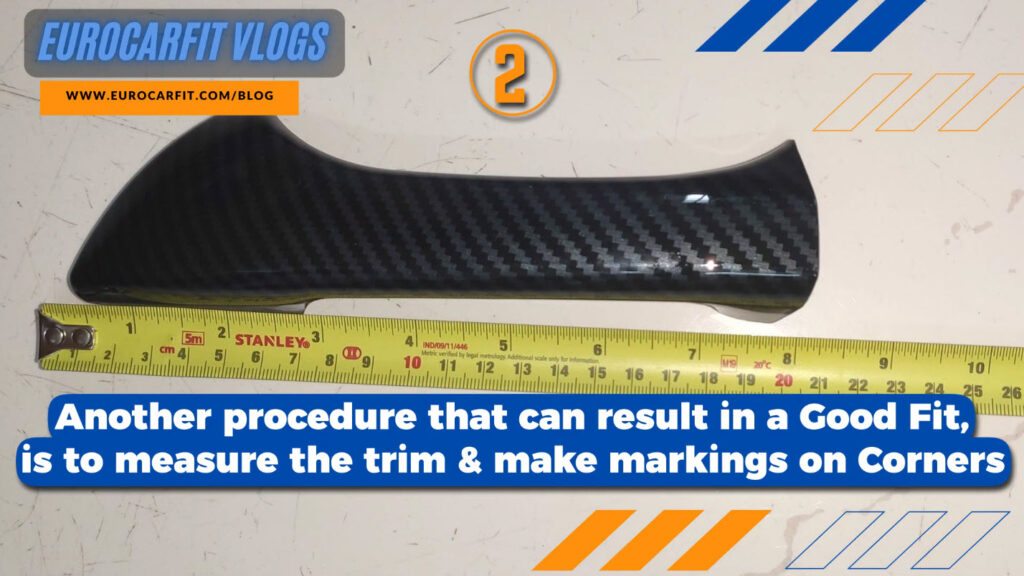
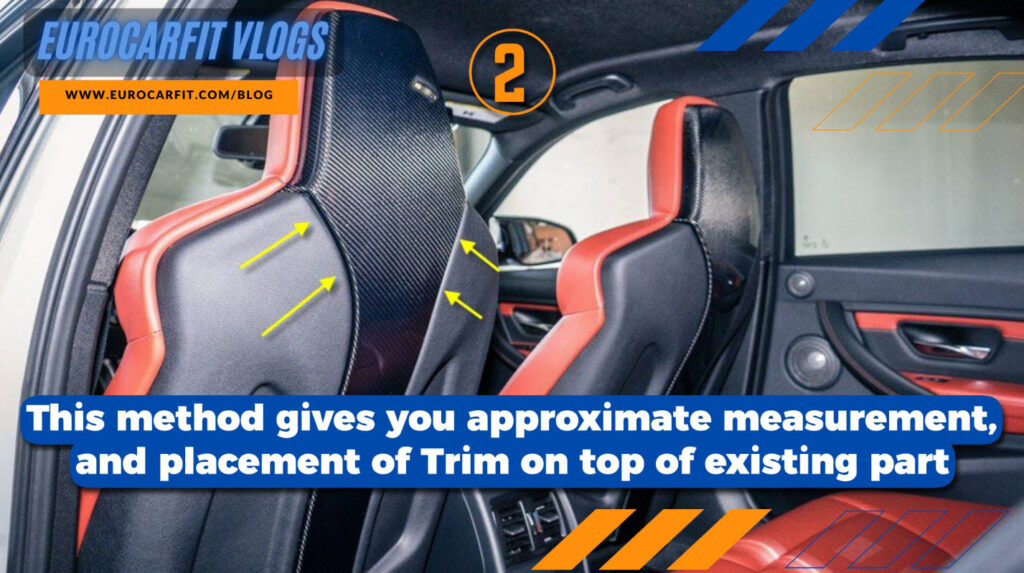
2) Another procedure, that can result in a good fit, is to measure the trim and make markings on the corners or curves, using a carpenter’s white pencil. This will leave a white mark which is entirely temporary and can be peeled off easily without any soap or anything, Merely rubbing your fingers or a microfiber towel would be enough to erase the lines after installation. This method gives you an approximate measurement and placement of trim on top of the existing part so that you can peel the adhesive tape and then place the trim in the exact same position again. This method is especially helpful if the original part has curves or bends on it.
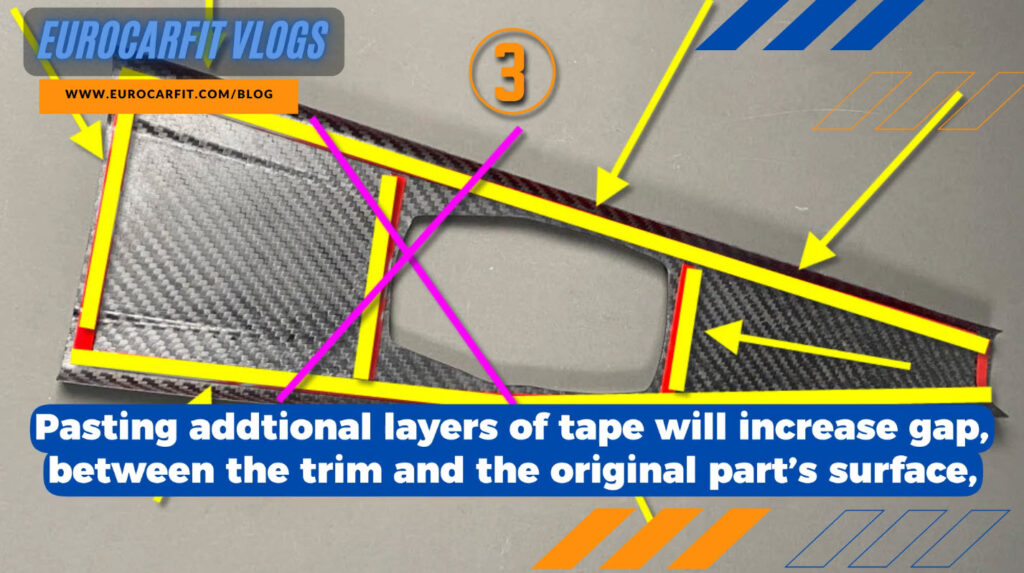
3) If the double-sided tape provided with the trim is not enough, and during the test measurement and fit, if you notice that there are gaps between the trim and the original part’s surface. It is always good to apply some extra double-sided tape in those portions, which will run alongside the existing tape that comes with the trim. This step will strengthen the bond after application, and the fitment will be tight and long-lasting. Don’t stick additional layers of double-sided tape above the existing tape, unless it’s really needed. Pasting additional layers of tape will increase the gap between the trim and the original part’s surface, which will also result in poor fitment.
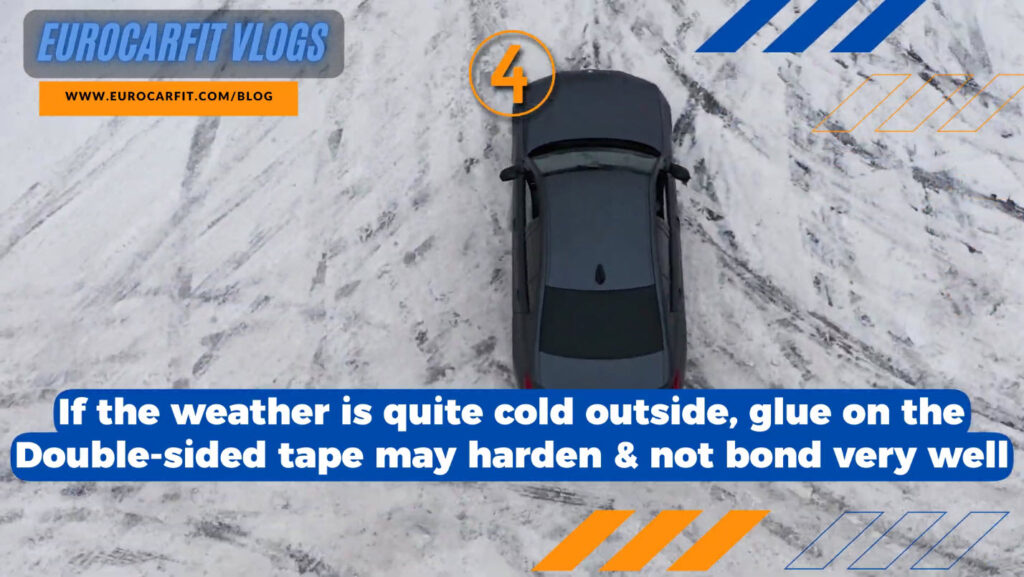
4) If the weather is quite cold outside, the glue on the double-sided adhesive tape, may harden and not bond very well with the original part surface, after application. This problem can be solved, by using a hairdryer or a hot air gun, to warm up the tape slightly before application. Use lateral movements of the hairdryer to blow hot air on the adhesive tape without peeling the protective layer. This will soften the almost frozen glue and help you stick the trim much better on top of the part surface. An important thing to note is not to heat the glue excessively, as it could melt the glue away or worse, just burn it. Just warm it enough to be soft.
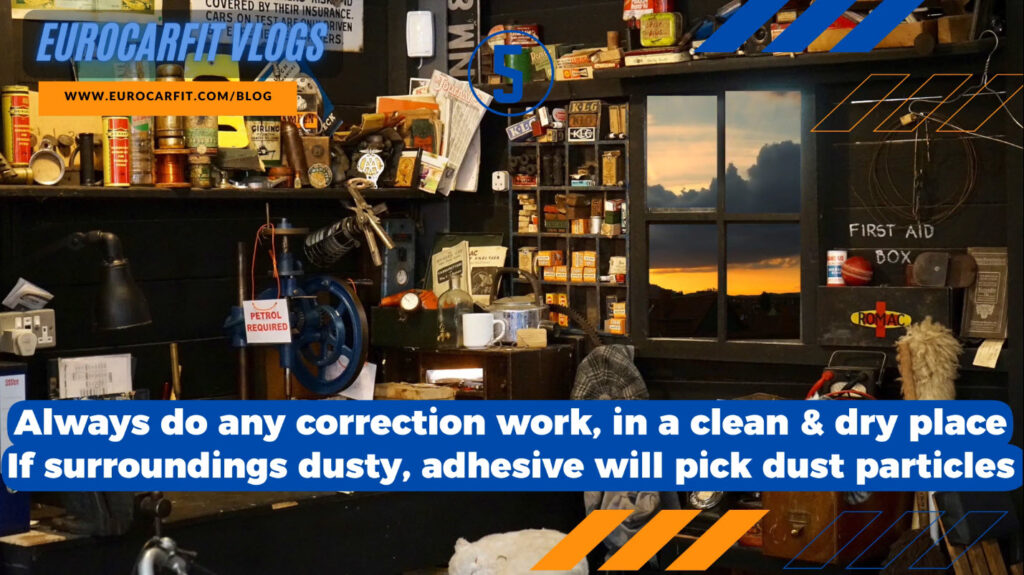
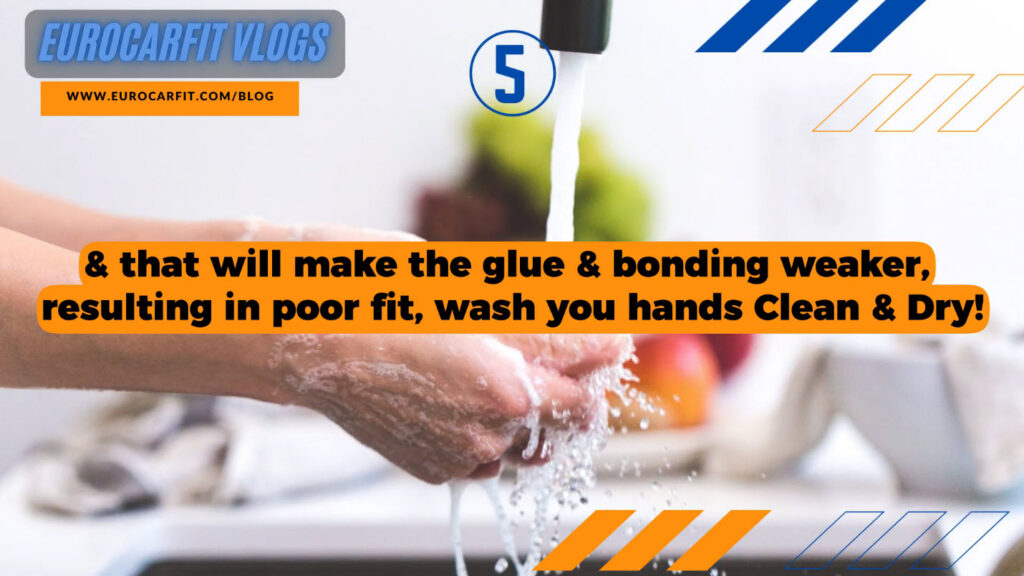
5) Always do any of the correction work, in a clean and dry place or work table. If the surroundings are dusty, the double-sided tape’s adhesive will pick up dust particles, and that will make the glue and bonding weaker, resulting in a poor fit. Wash your hands clean & dry, before getting started.
Hope this Vlog is helpful for you, and our team of experienced support representatives at EUROCARFIT are here to assist you!
Thank You!